
Sample roof survey report (UK): every page explained
This is a complete roof survey report for a fictional Edinburgh semi, produced by Docutrades from the notes and photos a surveyor would take on site. It is the same document our customers send: ten pages, three roof areas, categories, costs and a sign-off. Download it, or read what each page is for below.
Download the sample PDF or get a copy with your logo on it
The address, client and company are invented; the photographs are real roofs; the prices are indicative ranges of the kind a Scottish roofer would give in 2026. The layout shown is Schedule, one of five layouts in the product.
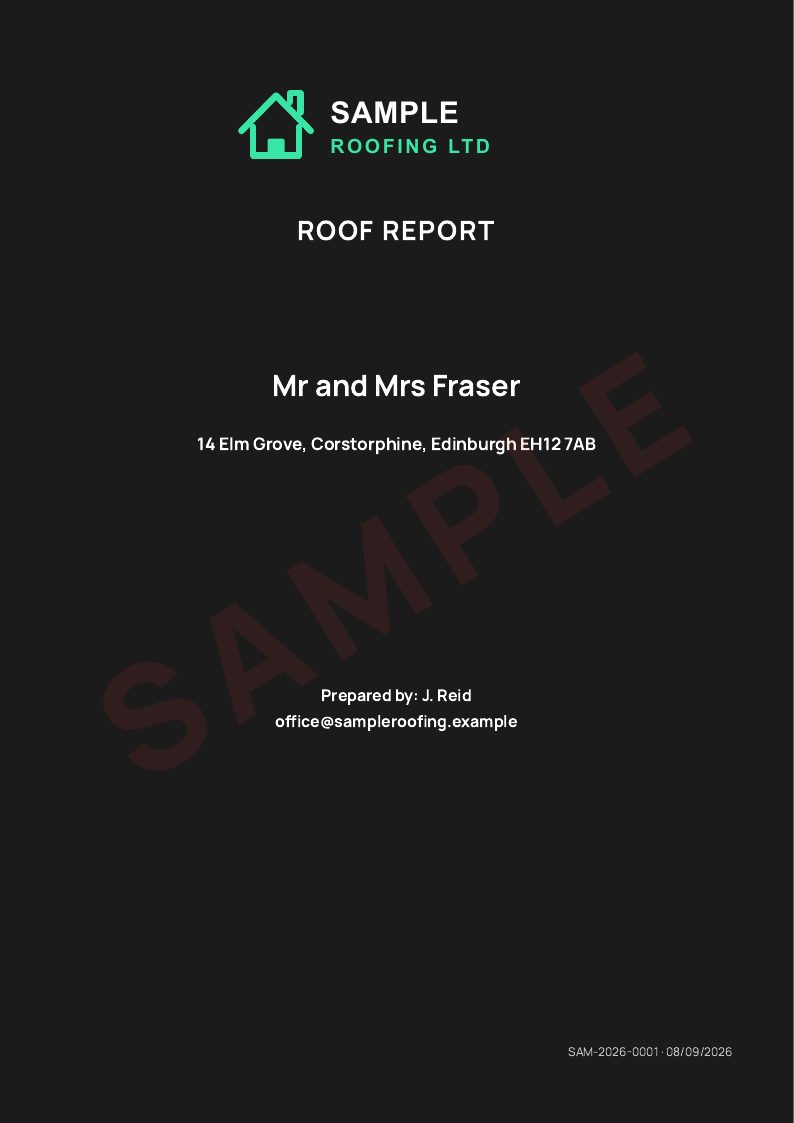
Page 1: Cover
Logo, the report title, the client's name and the property address, who prepared it and the reference. Nothing else. A cover that lists findings gets read instead of the report.
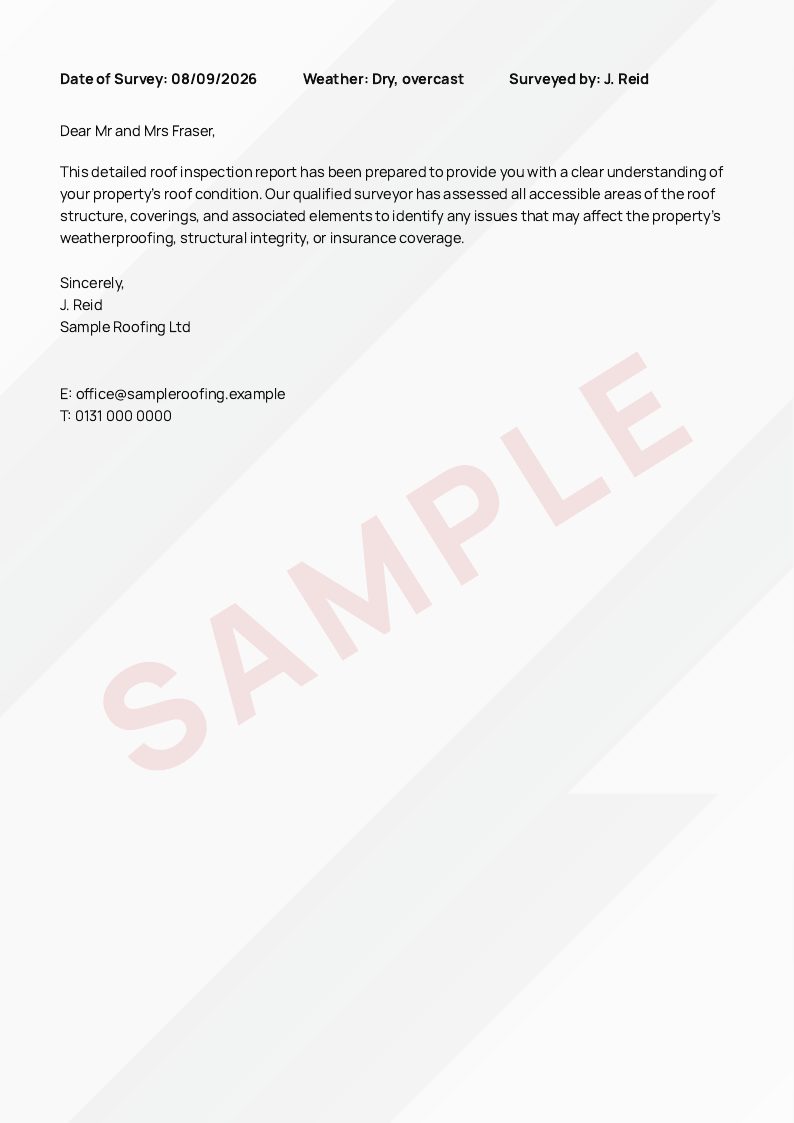
Page 2: Cover letter
Date of survey, weather and surveyor, then a short letter to the client. Weather matters: a dry day cannot show a live leak, and saying so protects the roofer later.
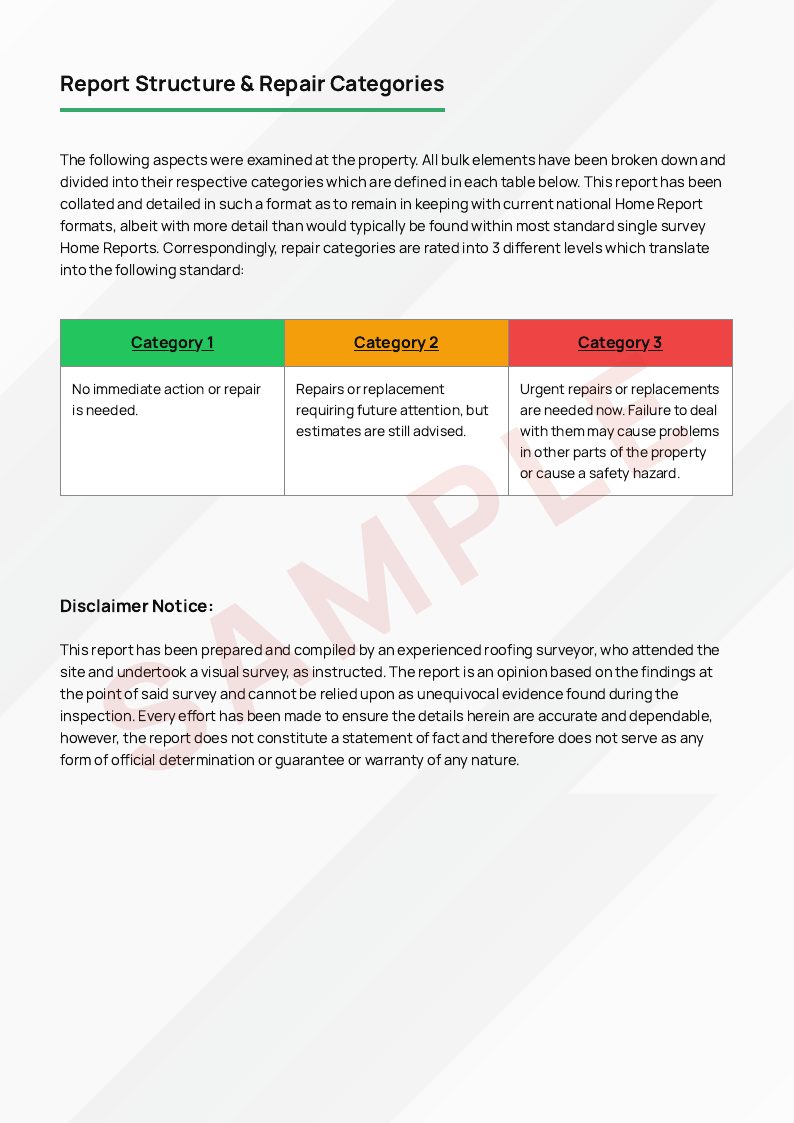
Page 3: Report structure and repair categories
The three categories with their standard definitions in a coloured table, then the disclaimer. The customer sees what Cat 1, 2 and 3 mean before meeting them on an area page.
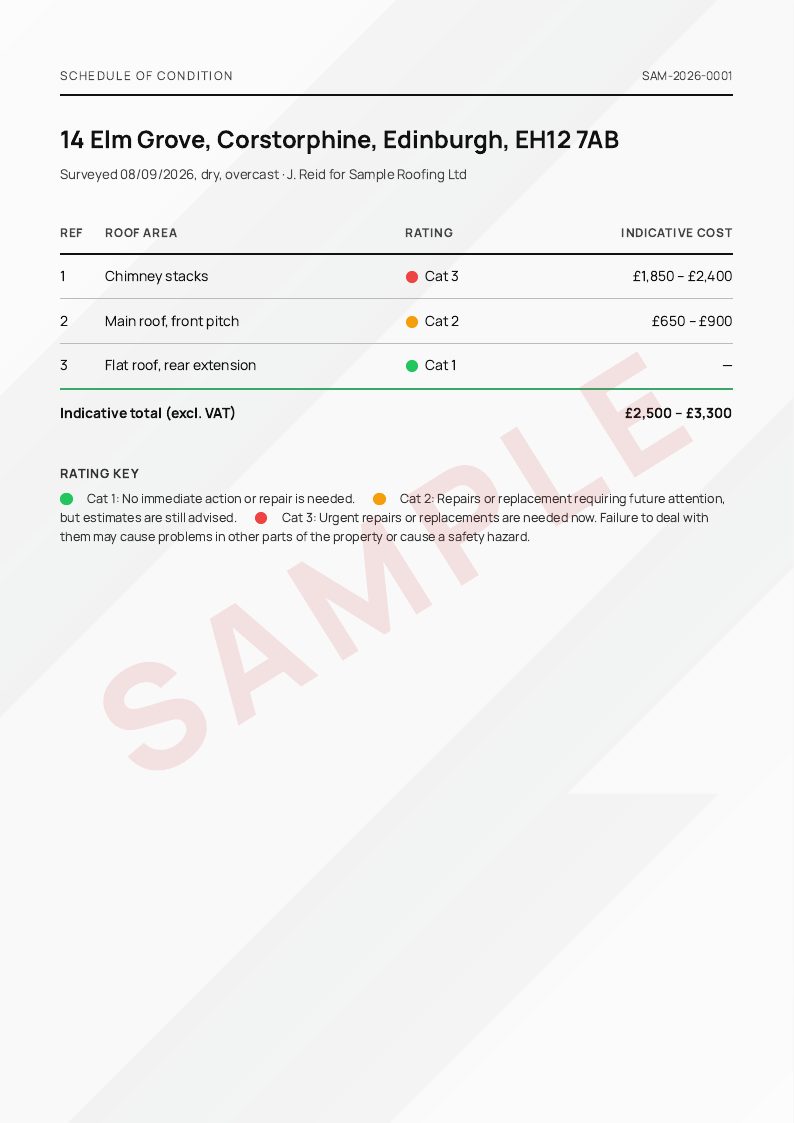
Page 4: Schedule of condition
One line per roof area with its category and indicative cost, and a total. Block managers and insurers often read only this page, so it comes before the detail, not after.
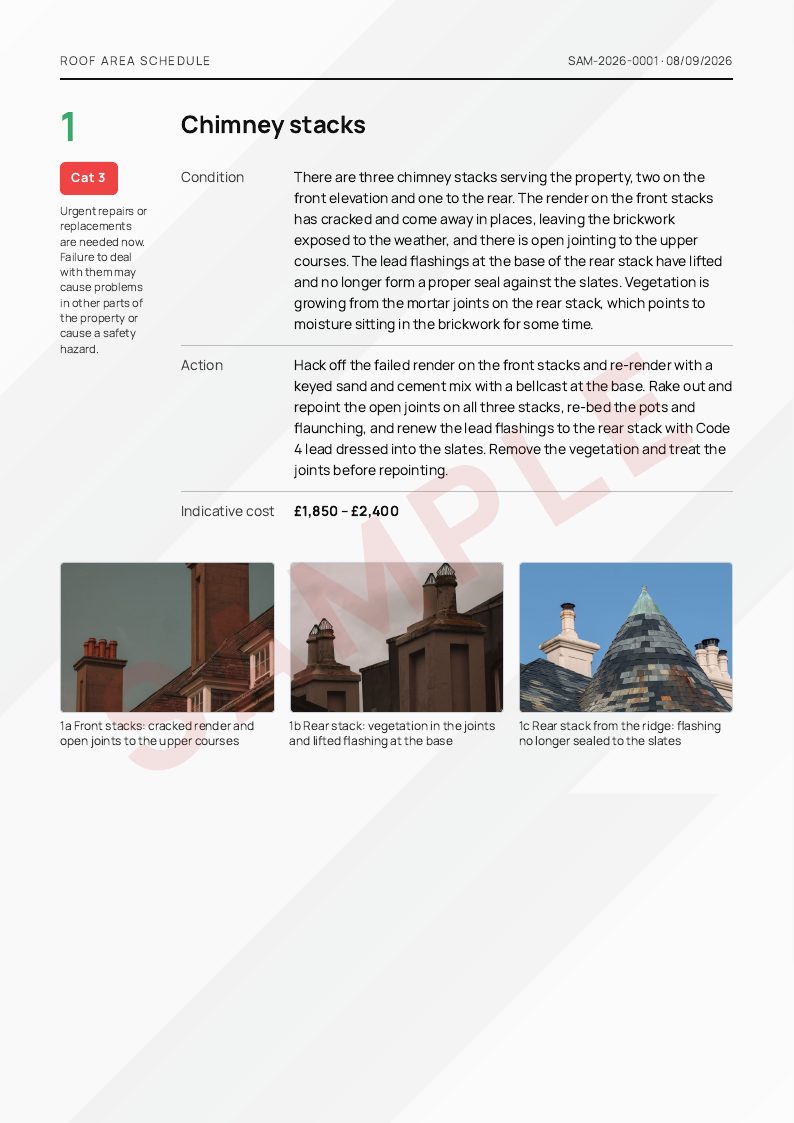
Page 5: Area 1: chimney stacks (Cat 3)
The area name, the condition as found, the action recommended, the category, the cost, and three captioned photos. The description is the surveyor's site notes tidied into prose; nothing is added that was not seen.
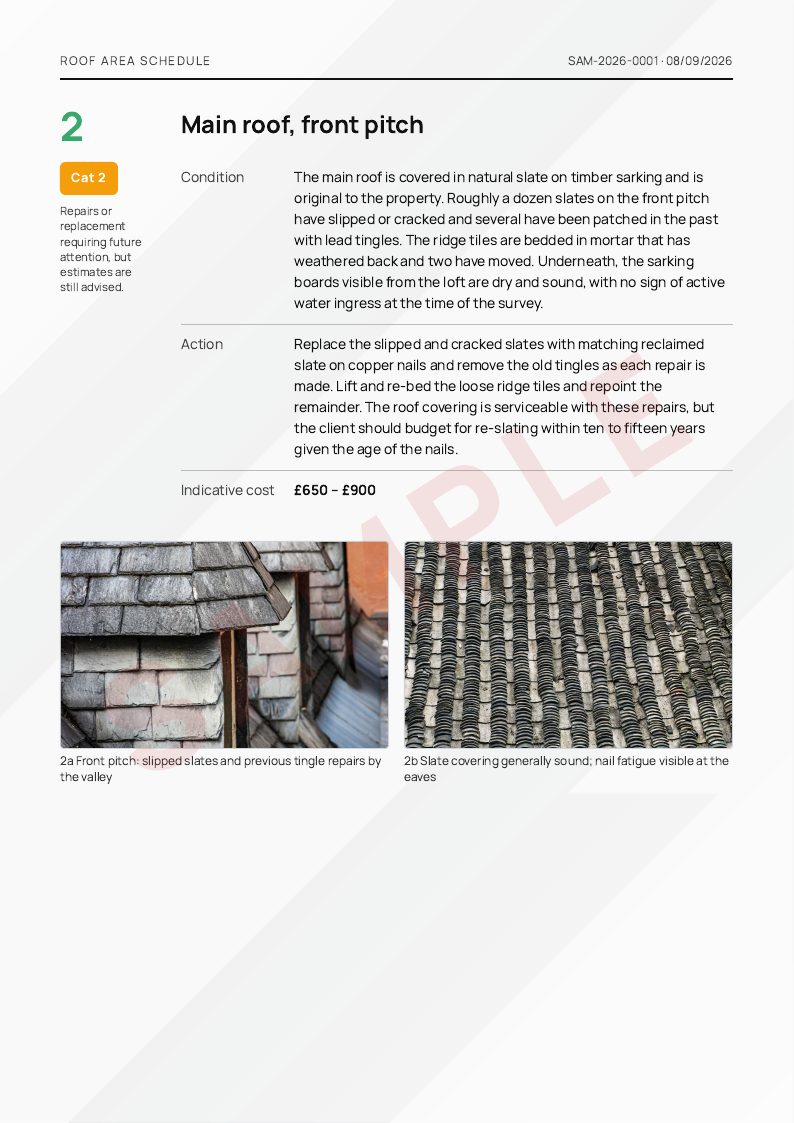
Page 6: Area 2: main roof, front pitch (Cat 2)
A Cat 2 area says what needs doing and when, and gives a longer-term view (re-slating within ten to fifteen years) so the customer can plan and the roofer is on record.
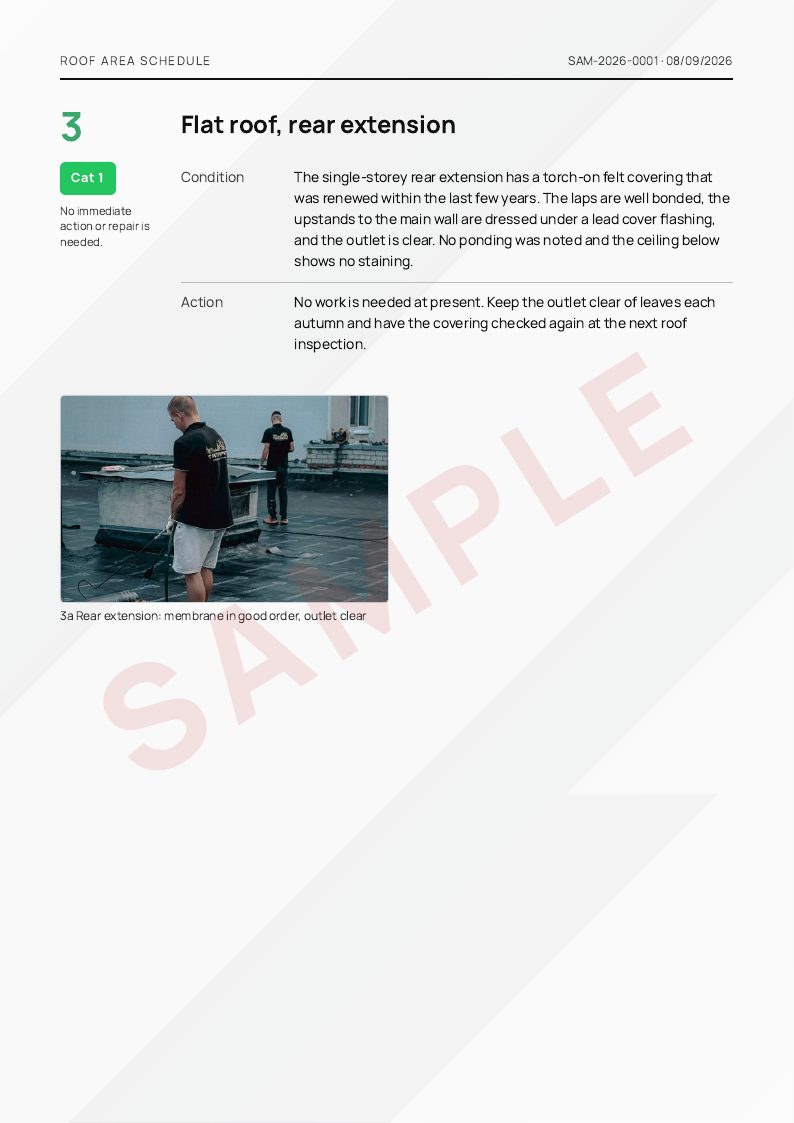
Page 7: Area 3: flat roof, rear extension (Cat 1)
A Cat 1 area still records what was inspected and one maintenance point. It shows the roof was looked at in full, not just where the problems were.
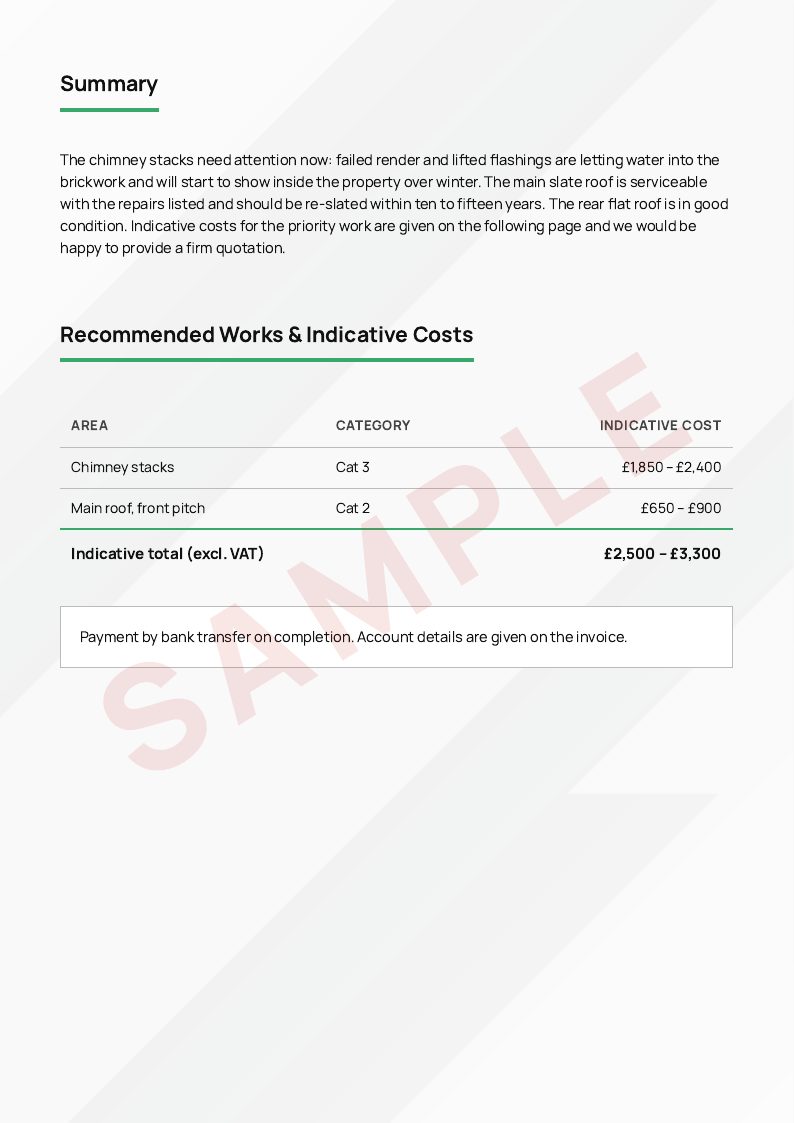
Page 8: Summary and recommended works
The summary in plain words, then the costed works table with an indicative total (no VAT: this sample company is not registered) and the payment instructions.
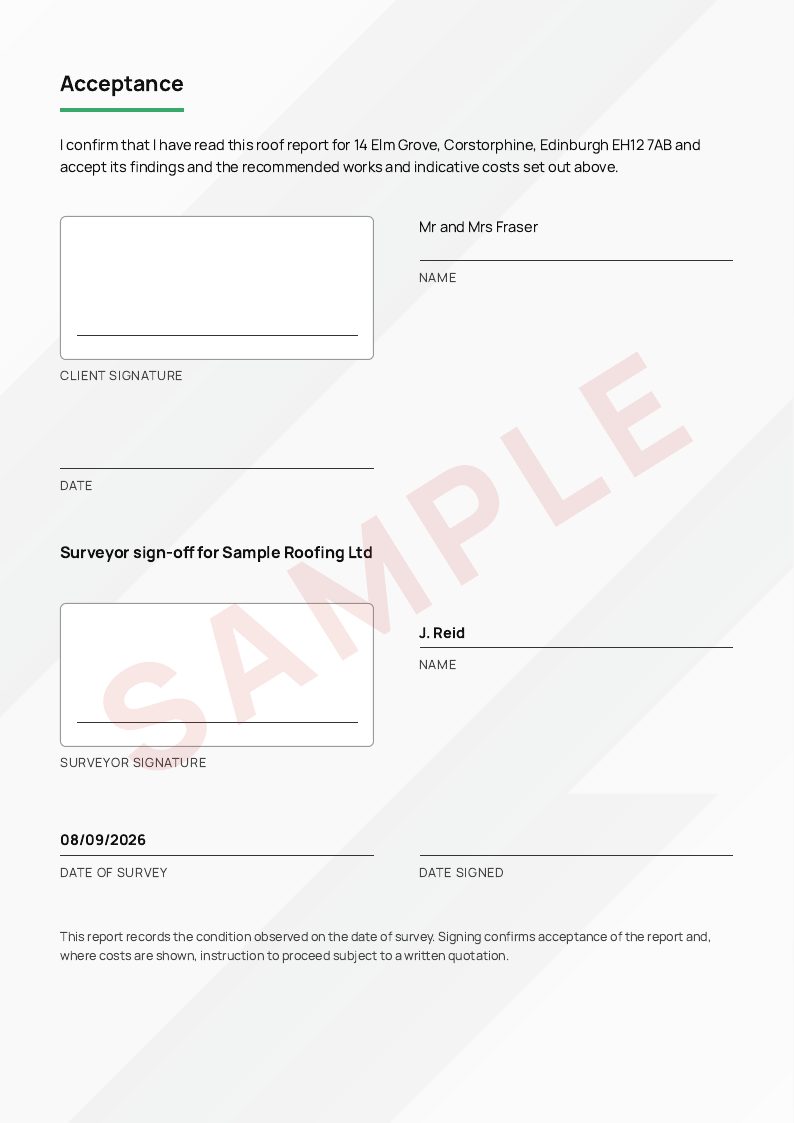
Page 9: Acceptance and surveyor sign-off
The client signs to accept the findings and, where costs are shown, to instruct the work subject to a written quotation. The surveyor's own signature and dates sit below it.
Page 10: Back page
Logo and full contact details, so the report still works as a business card after it has been printed and passed around.
What a roof survey report should always include
- The date and the weather, and who carried out the inspection.
- A statement of what was inspected and how (visual, from ground, ladder or access).
- One section per roof area, each with a condition, a recommendation and a category.
- Photographs with captions, kept with the area they belong to.
- Indicative costs where the roofer is willing to be held to them, and a total.
- A disclaimer that it is an opinion on the day, not a warranty.
- Somewhere for the customer to accept it.
For the meaning of the categories, read Cat 1, Cat 2 and Cat 3 explained.
Written by the Docutrades team and edited by Damien Harvey, founder. The report shown was generated by Docutrades from the sample survey; page images are of that PDF. Published 20 September 2026.